

This Instant Pot apple pie filling gives you a pot full of tender, cinnamon-spiced apples without standing over the stove. Make it ahead and you’ll have the coziest fall shortcut ready for apple pie, pancakes, waffles, oatmeal, ice cream and all sorts of easy desserts.
If you’ve spent any time around here, you know I’m always experimenting with unexpected ways to make sweets in my Instant Pot. This recipe is one of the simplest, but also one of the most useful. Pressure cooking quickly softens the apples in a buttery mixture of apple cider, brown sugar and warm spices.
Fall is my favorite time of year, and nothing screams fall to me quite like apples. Every year I go a little bonkers making apple recipes, and this one is pure comfort in a pot. The best part is deciding how to use it because the possibilities extend far beyond apple pie.
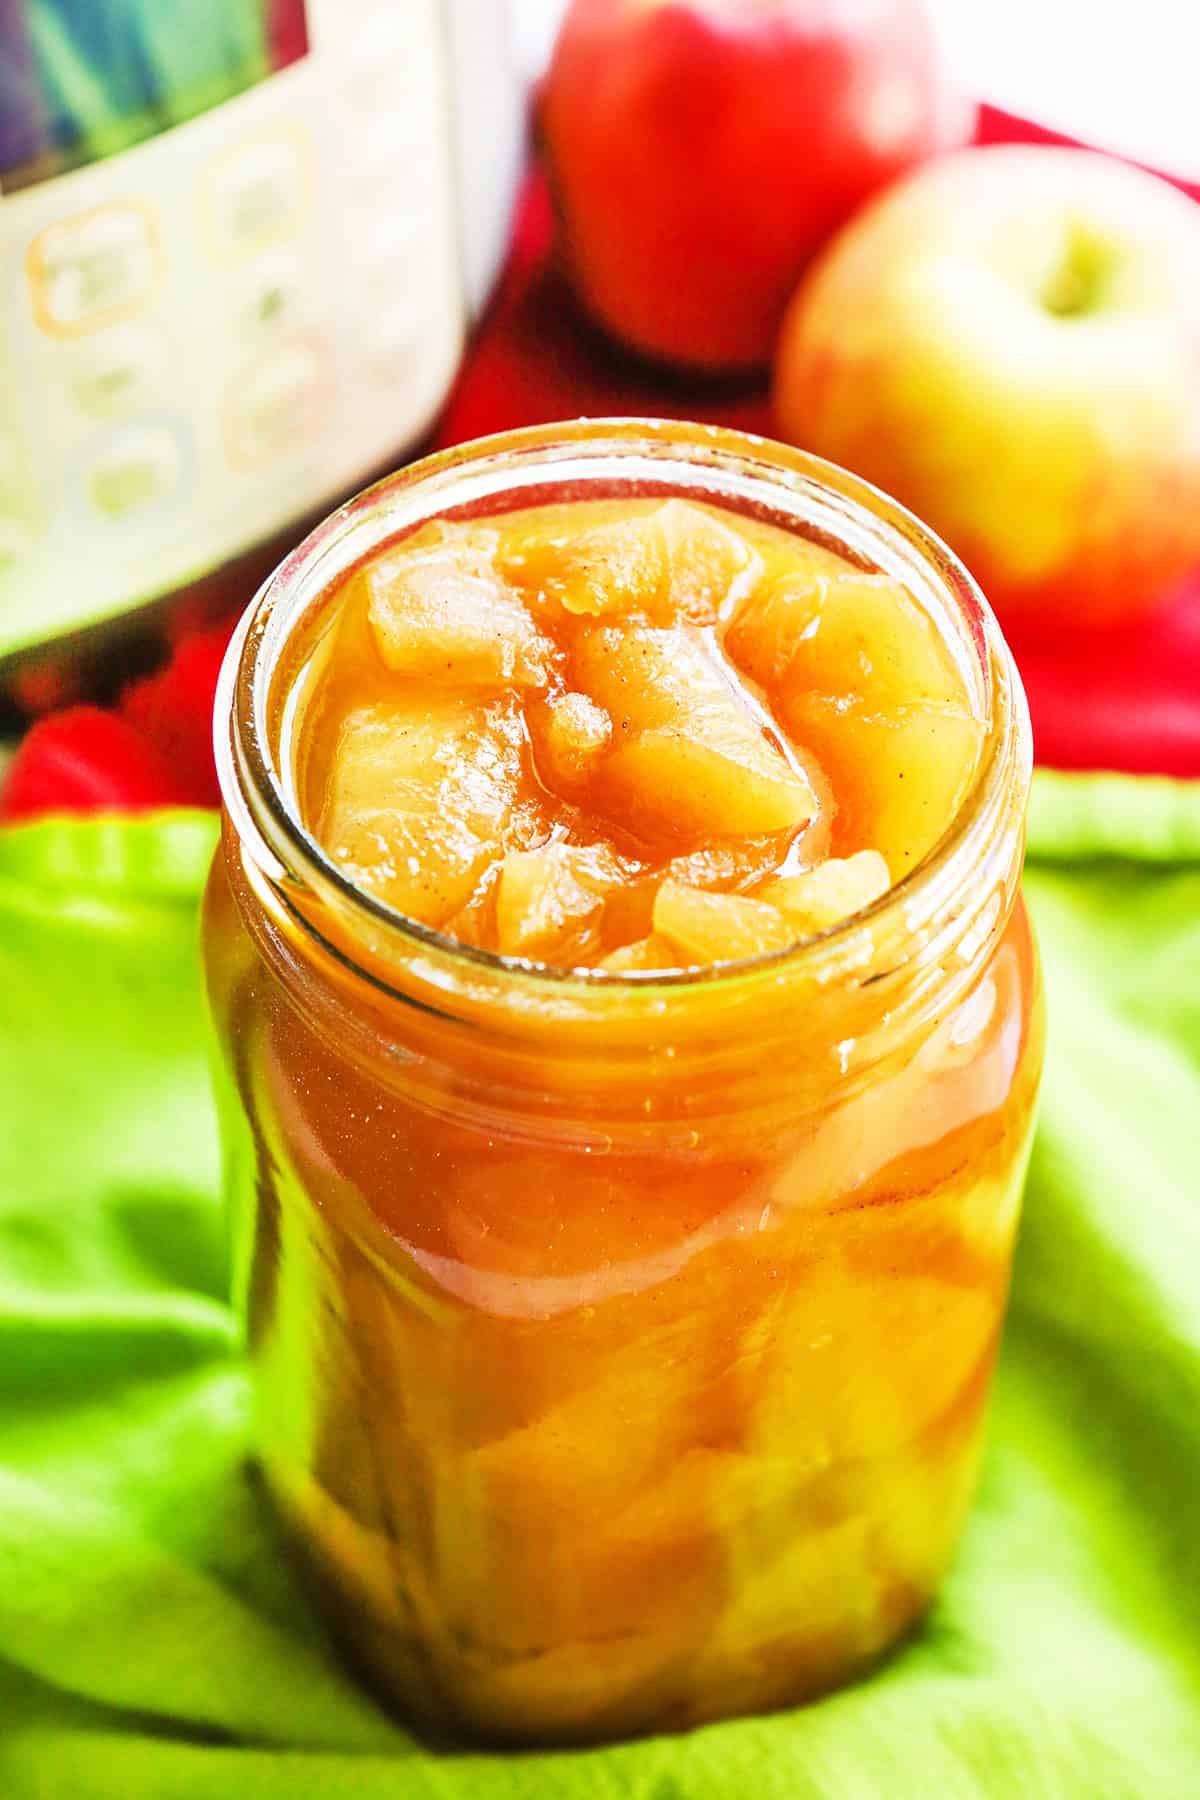
Why This Recipe Works
- The Instant Pot does the work for you. There is no need to stand over the stove or continually stir the apples. Once the ingredients are in the pot, pressure cooking takes care of the rest.
- Using both sweet and tart apples creates better flavor. A combination of varieties gives the filling more depth than using just one type of apple.
- Apple cider makes every bite taste more like fall. The apples cook in cider, butter, brown sugar, cinnamon and nutmeg, creating a warm, buttery sauce around them.
- Three minutes of pressure cooking makes the apples tender. The Instant Pot will need approximately 17 minutes to build pressure first, but your hands-on time is minimal.
- There are so many ways to use it. Turn the filling into an apple pie or spoon it over pancakes, waffles, oatmeal, ice cream, cheesecake or pound cake.
- It is a smart make-ahead recipe. Store the filling in the refrigerator for up to five days or freeze it for up to six months so you have apple goodness ready when you need it.
Ingredient Notes
Apples: Use 6 medium apples, or approximately 6 cups of peeled, cored and sliced apples. For the best flavor, combine sweet and tart varieties. I like pairing a firm, sweet apple such as Honeycrisp, Fuji or Pink Lady with tart Granny Smith apples. Cut them into approximately 1/4-inch-thick slices so they cook evenly.
Lemon juice: Adding fresh lemon juice to a bowl of cool water keeps the sliced apples from browning while you finish peeling and cutting the remaining apples.
Apple cider: Cider gives the filling its richest apple flavor. Apple juice works well as a substitute, or you can use water if that is what you have available.
Brown and granulated sugars: Using both creates a balanced sweetness with a hint of caramel flavor. This combination also helps form the buttery sauce surrounding the apples.
Butter: Salted or unsalted butter will work. If using salted butter, you may want to slightly reduce the added salt.
Cinnamon and nutmeg: These classic apple pie spices add plenty of warmth without overpowering the apples. For even more spice, add a pinch of ground cloves or allspice.
How To Make Apple Pie Filling in Your Instant Pot
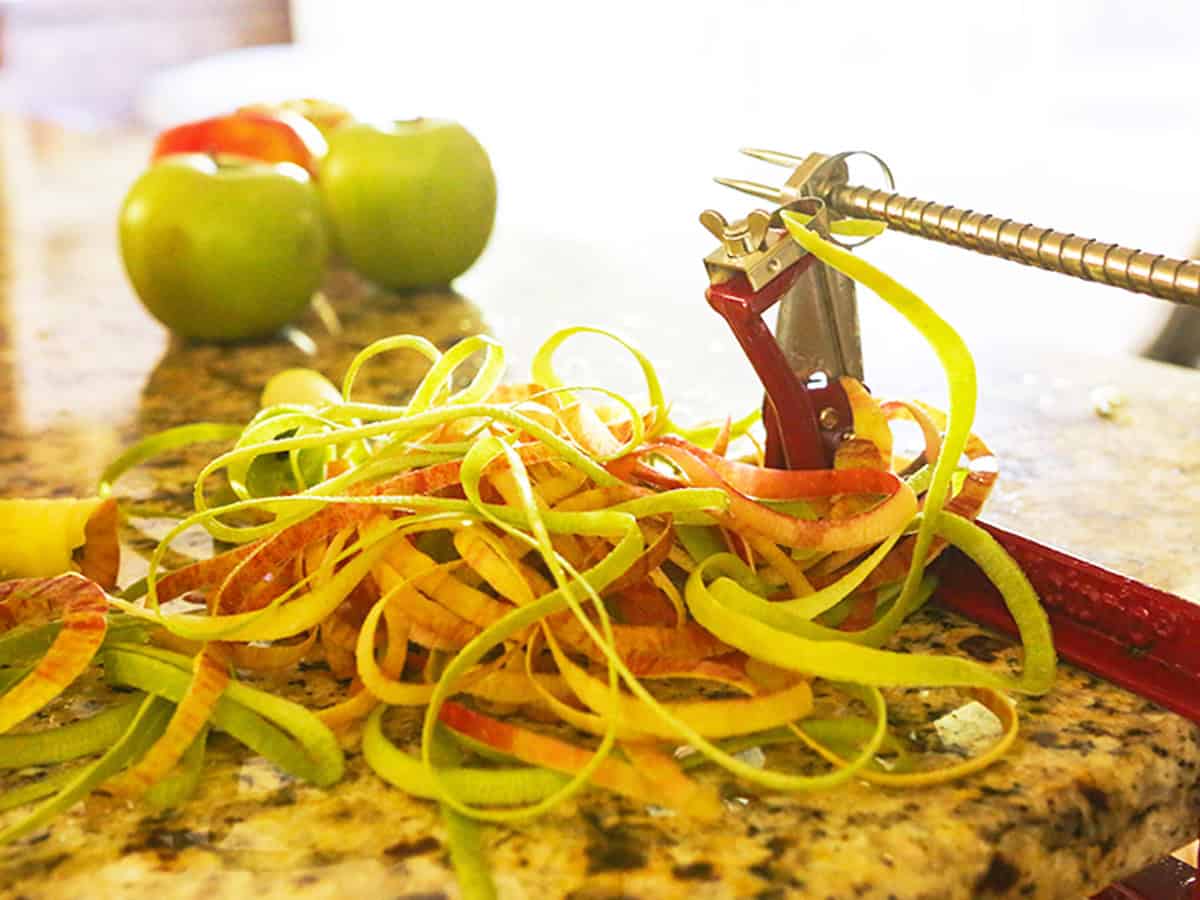
- Prepare the apples. Fill a large bowl halfway with cool water and add the lemon juice. Peel, core and slice the apples using an apple peeler, corer and slicer or a vegetable peeler and sharp knife.
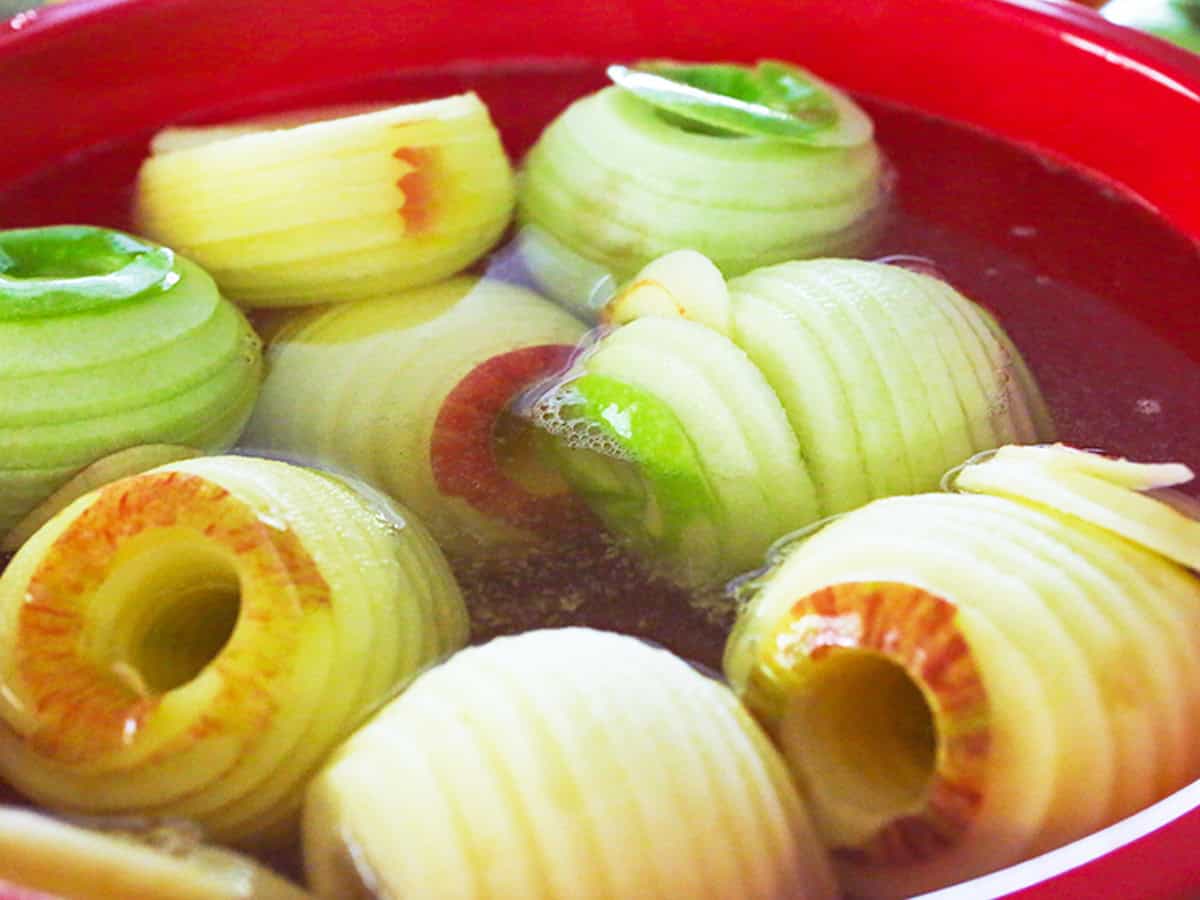
- Place the apples in lemon water. Cut the apple spirals into halves or quarters, then add them to the lemon water as you work to prevent browning.
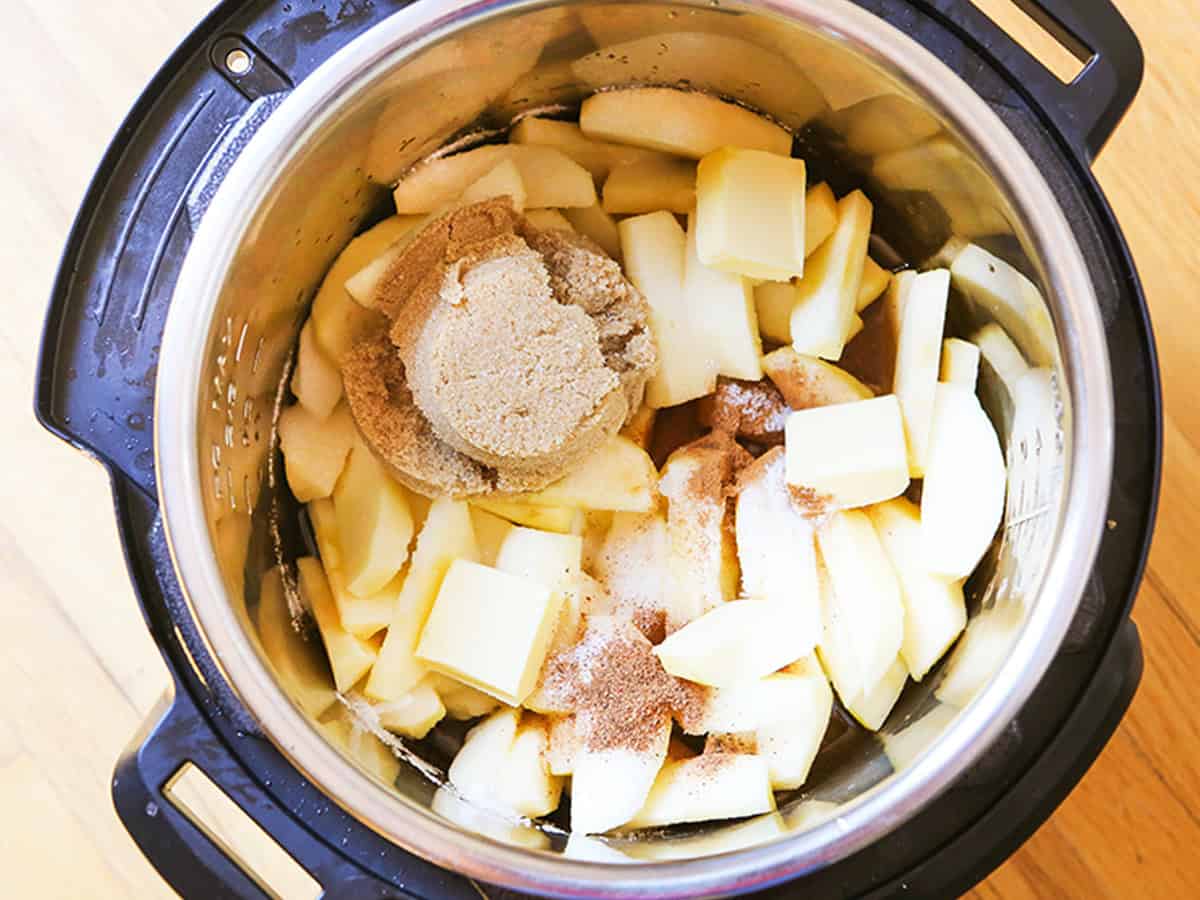
- Add the ingredients. Drain the apples well and transfer them to the Instant Pot. Add the apple cider, granulated sugar, brown sugar, butter, cinnamon, nutmeg and salt.
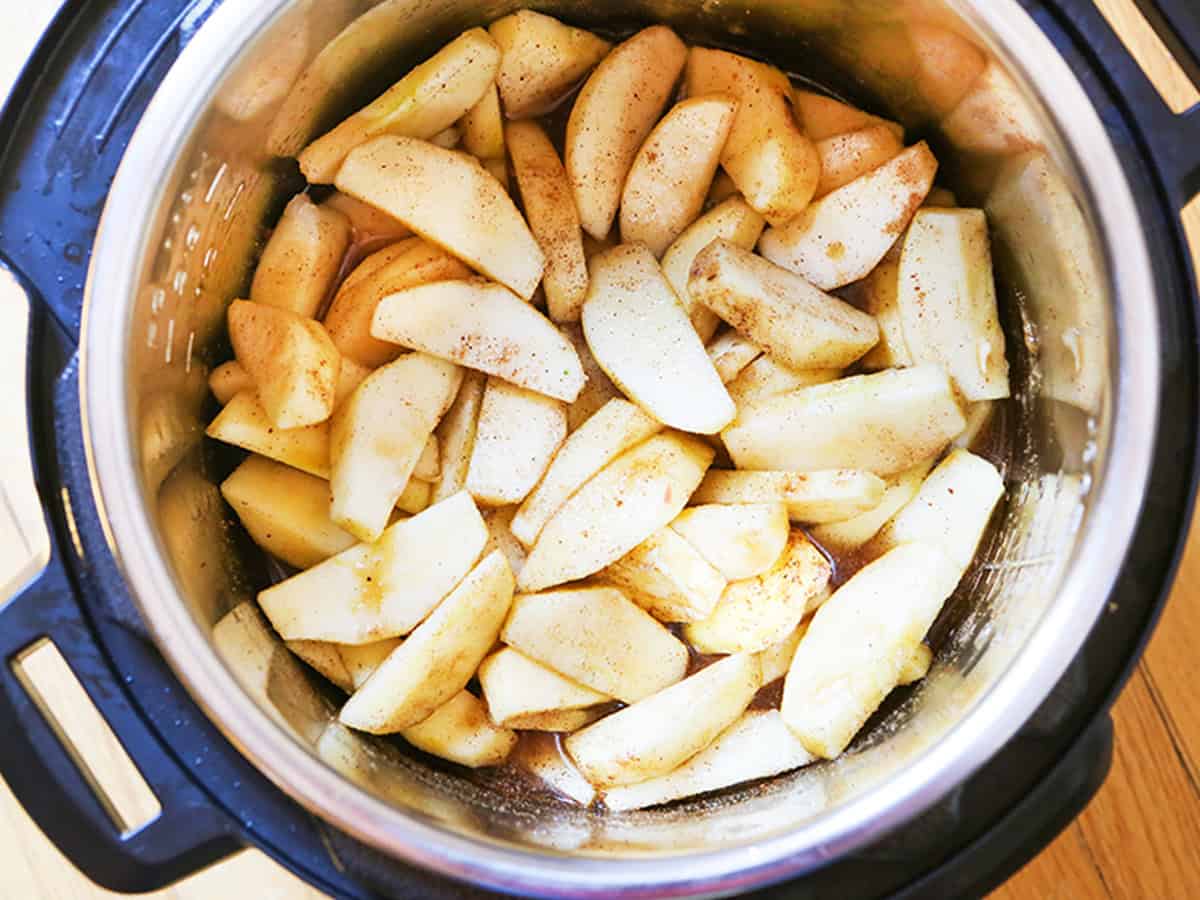
- Combine and pressure cook. Stir gently to coat the apples and press them down into the pot. Secure the lid, set the valve to sealing and cook on high pressure for 3 minutes. Allow approximately 17 minutes for the Instant Pot to build pressure.
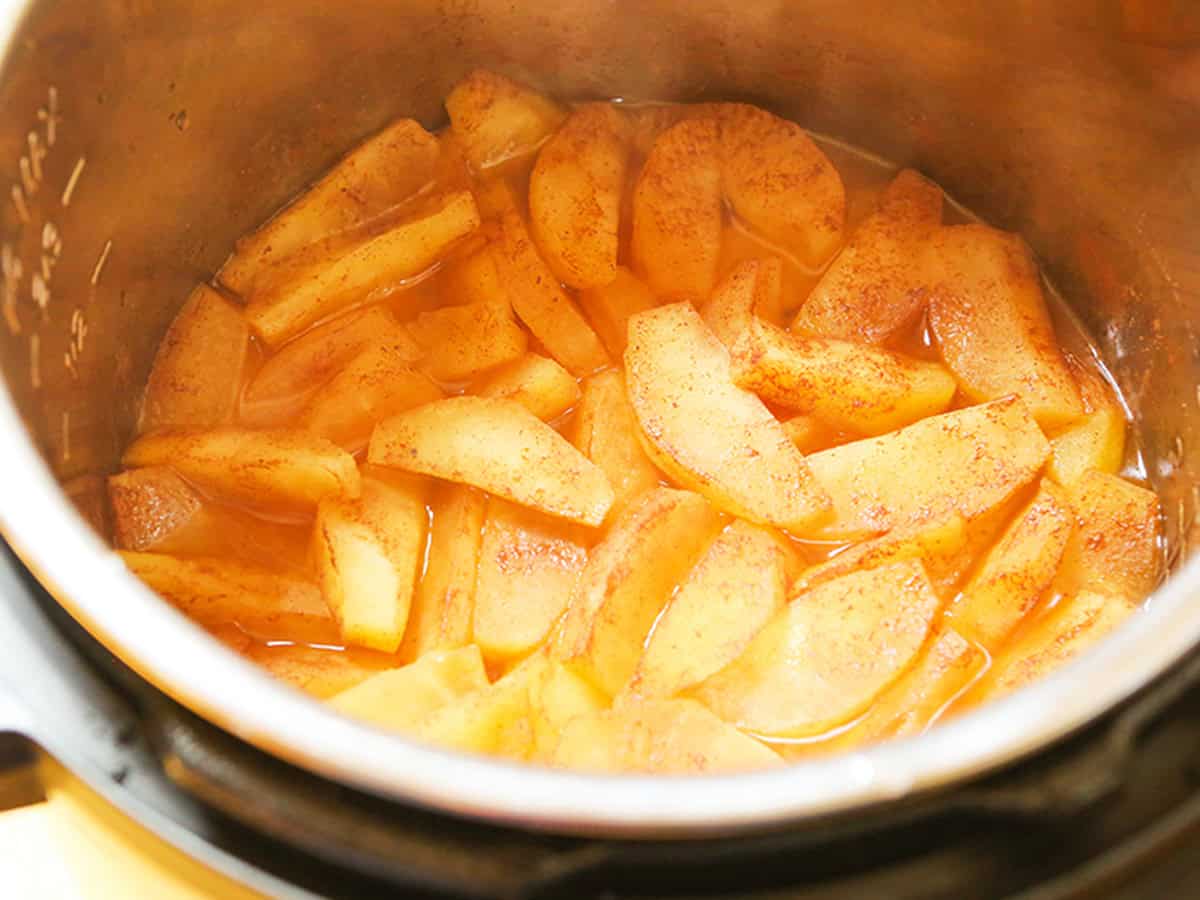
- Release the pressure. When the cooking time ends, carefully perform a quick release. Remove the lid once the pressure has fully released.
- Thicken, if desired. For a thicker, more traditional apple pie filling, select the Sauté setting. Whisk together 2 tablespoons cornstarch and 2 tablespoons cool water, then gently stir the slurry into the apples. Simmer for 1 to 2 minutes, until thickened, and press Cancel.
- Cool and use. Let the filling cool before adding it to a pie or another dessert. It will continue to thicken as it cools. One batch makes enough filling for one apple pie.
Tips for the Best Instant Pot Apple Pie Filling
- Use firm apples. Granny Smith, Honeycrisp, Pink Lady and Braeburn are less likely to fall apart under pressure than softer varieties.
- Slice the apples evenly. Aim for approximately 1/4-inch-thick slices so they finish cooking at the same time.
- Release the pressure promptly. Perform the quick release as soon as the 3-minute cooking time ends to prevent the apples from continuing to soften.
- Expect the filling to look saucy at first. Use the optional cornstarch slurry if you want a thick filling for pie. The sauce will thicken further as it cools.
- Stir gently after cooking. Pressure-cooked apples are tender, so vigorous stirring can cause them to break apart.
How To Make Apple Pie Filling on the Stove
- Prepare the apples. Peel, core and slice the apples, placing them in lemon water as you work to prevent browning. Drain well.
- Combine the ingredients. Add the apples, apple cider, granulated sugar, brown sugar, butter, cinnamon, nutmeg and salt to a Dutch oven or heavy saucepan. Stir to combine.
- Bring to a boil. Cook over medium-high heat until the liquid begins to boil.
- Simmer the filling. Reduce the heat to medium-low and simmer uncovered for approximately 15 minutes, stirring occasionally, until the apples are tender.
- Thicken, if desired. If the filling is saucier than you would like, whisk together 2 tablespoons cornstarch and 2 tablespoons cool water. Stir the slurry into the filling and simmer for 1 to 2 minutes, until thickened.
- Cool and use. Remove the pan from the heat and allow the filling to cool before using or storing.
How To Cut Apples for Apple Pie Filling
My apple peeler, corer and slicer is one of my favorite fall kitchen tools. When I’m going through apples as quickly as I do this time of year, it saves me so much prep time. It peels, cores and slices each apple into even rings in seconds, which is especially helpful when preparing six apples for this recipe.
This is the apple peeler I use and love. It clamps securely to the counter and creates evenly sized slices that cook consistently in the Instant Pot. After running each apple through it, cut the spiral into halves or quarters before placing the slices in the lemon water.
If you do not have an apple peeler, use a vegetable peeler, apple corer and sharp knife. Cut the apples into uniform slices approximately 1/4 inch thick, placing them in the prepared lemon water as you work to prevent browning.
Best Apples for Apple Pie Filling
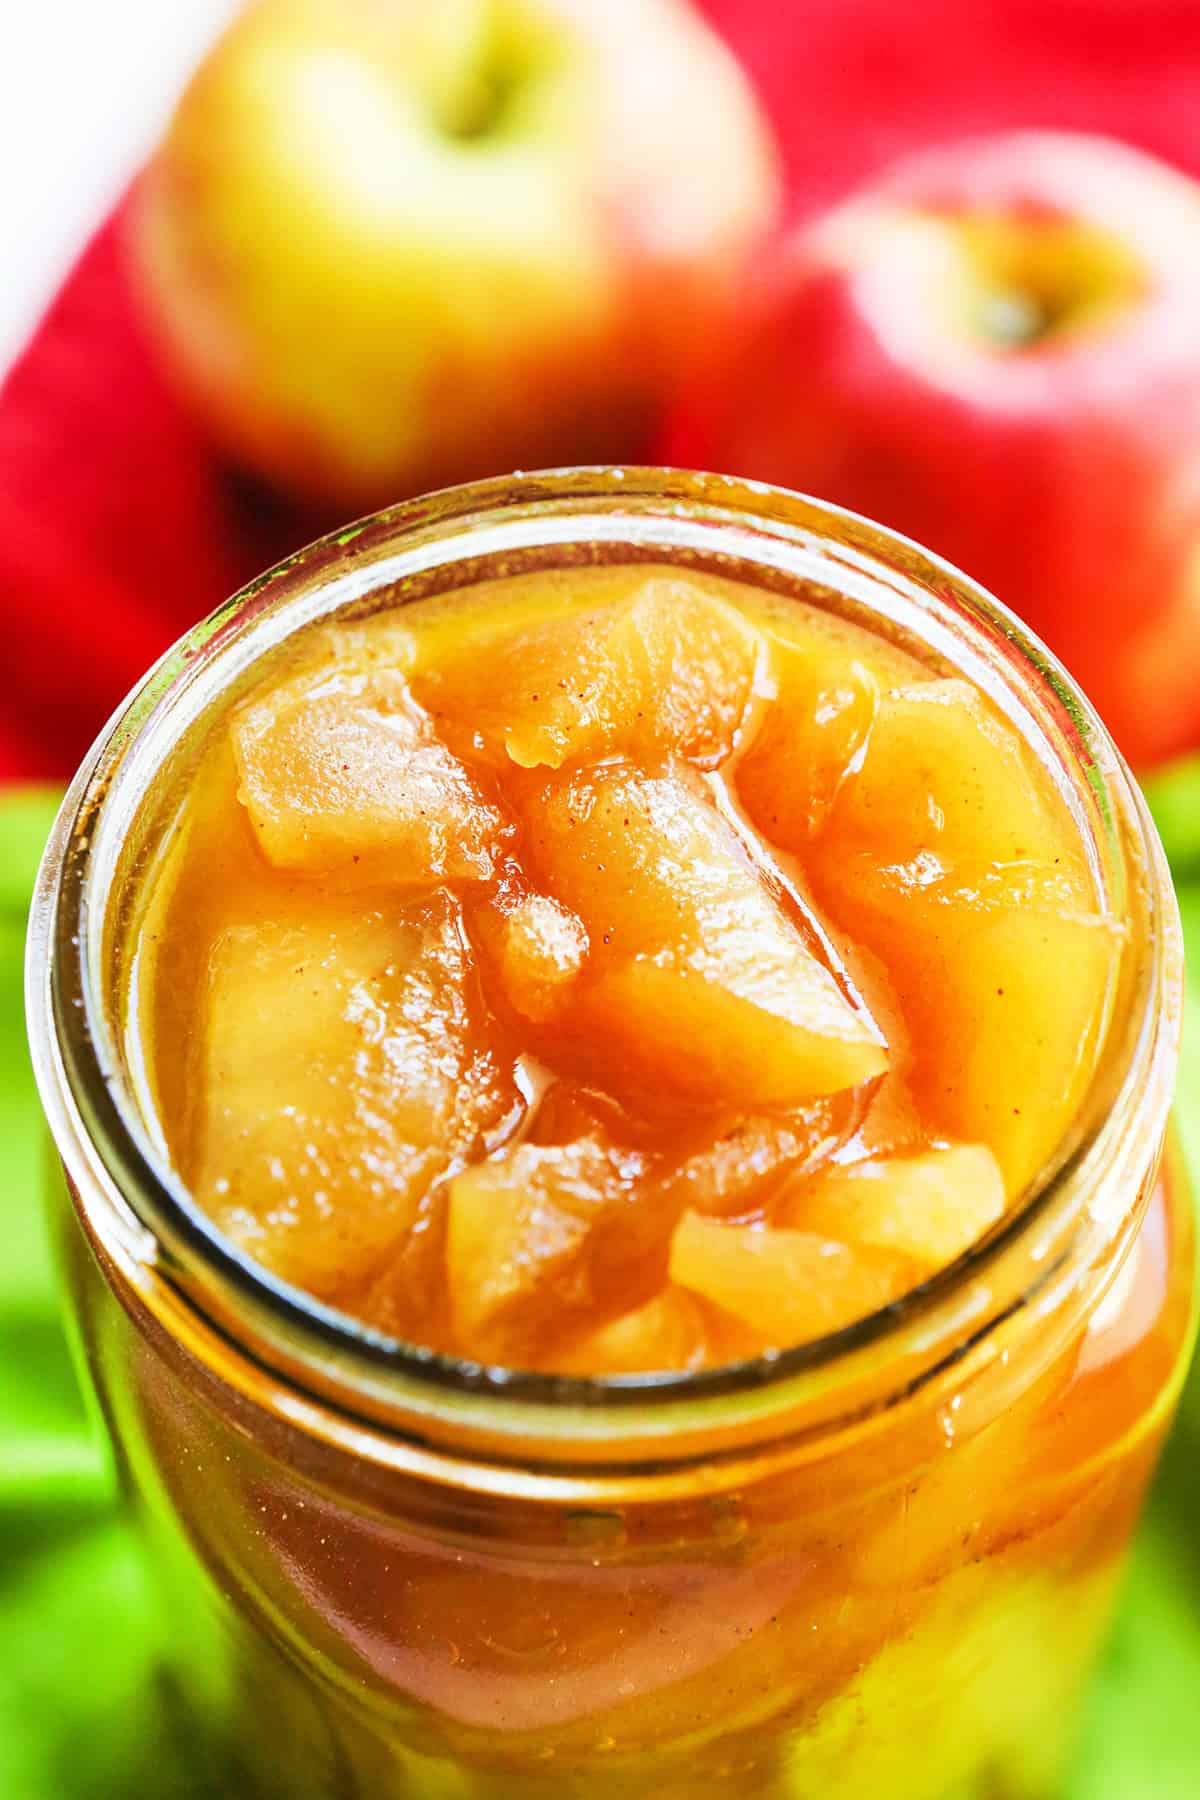
For the best Instant Pot apple pie filling, use at least two varieties of apples: one sweet and one tart. Mixing varieties creates a more balanced flavor than using a single type. My favorite combination is Honeycrisp and Granny Smith.
Because pressure cooking softens apples quickly, choose varieties that are firm enough to hold their shape. Softer apples such as McIntosh can break down and create a more applesauce-like consistency.
Sweet or Sweet-Tart Apples
- Honeycrisp
- Fuji
- Pink Lady
- Braeburn
- Golden Delicious
Tart Apples
- Granny Smith
- Jonathan
- Ida Red
- Empire
For this recipe, try using 3 medium Honeycrisp and 3 medium Granny Smith apples, or enough to equal approximately 6 cups once peeled, cored and sliced. This combination creates balanced sweetness, a noticeable tart contrast and apple pieces that hold up well during pressure cooking.
How To Thicken Apple Pie Filling
This filling will be fairly saucy when you first open the Instant Pot. If you plan to use it in a pie or prefer a thicker, more traditional filling, whisk together 2 tablespoons cornstarch and 2 tablespoons cool water until completely smooth.
Select the Sauté setting and gently stir the slurry into the hot filling. Simmer for 1 to 2 minutes, stirring carefully, until the sauce thickens. Press Cancel and allow the filling to cool. It will continue to thicken slightly as it sits.
How To Freeze Apple Pie Filling
Allow the cooked filling to cool completely, then transfer it to a resealable freezer bag or airtight freezer-safe container. If using a freezer bag, remove as much air as possible, seal tightly and freeze it flat for easier storage.
Freeze the apple pie filling for up to 6 months. Thaw it overnight in the refrigerator, then warm it gently on the stove or use it according to the instructions for your chosen dessert.
Ways To Use Apple Pie Filling
This filling can be used for much more than a traditional apple pie. Here are a few of my favorite ideas:
- Spoon it into a homemade or refrigerated pie crust to make an easy apple pie.
- Use it to make apple crisp, crumble or cobbler.
- Layer it into apple pie bars.
- Spoon the warm filling over vanilla ice cream.
- Serve it over pancakes, waffles, French toast or oatmeal.
- Spoon it over baked cinnamon rolls before serving.
- Spoon it over pound cake, cheesecake or angel food cake.
- Enjoy it warm with whipped cream or a scoop of vanilla ice cream.
Frequently Asked Questions
Why did my apples turn mushy?
Some apple varieties soften much faster than others under pressure. For apple pieces that hold their shape, use firm baking apples such as Granny Smith, Honeycrisp, Pink Lady or Braeburn, slice them evenly and perform a quick release as soon as the cooking time ends.
Can I make Instant Pot apple pie filling ahead of time?
Yes! Prepare the filling up to 5 days in advance and store it in an airtight container in the refrigerator. Allow it to cool completely before storing.
Can I use apple juice instead of apple cider?
Yes. Apple cider creates the deepest apple flavor, but apple juice works well as a substitute. Water may also be used, although the finished filling will have a milder flavor.
Can I use this filling in an apple pie?
Yes. For the most traditional pie-filling consistency, complete the optional thickening step and allow the filling to cool before adding it to your crust. Because pie recipes vary, use the quantity of filling specified in your chosen recipe rather than assuming the entire batch will fit.
More Instant Pot Dessert Recipes
If you love discovering unexpected ways to make sweets in your pressure cooker, try one of these easy Instant Pot desserts next:
- Instant Pot Cake: Make a moist, tender cake without turning on the oven.
- Instant Pot Cheesecake: The steamy pressure-cooking environment produces an especially smooth and creamy cheesecake.
- Instant Pot Dump Cake: A wonderfully simple dessert made with fruit filling and boxed cake mix.
- Instant Pot Berry Crisp: Juicy berries and a sweet crumble topping make this an easy year-round dessert.
- Instant Pot Chocolate Pudding: Rich homemade chocolate pudding made directly in the pressure cooker.
Will you help add value to Pip and Ebby?
If you make this recipe and love it, stop back and give it a 5-star rating ⭐️⭐️⭐️⭐️⭐️ and leave a comment. THANK YOU!
Instant Pot Apple Pie Filling
Ingredients
- Juice of 1/2 lemon
- 6 medium apples peeled, cored and cut into 1/4-inch-thick slices (approximately 6 cups)
- 1 cup apple cider apple juice or water may be substituted
- 1/2 cup granulated sugar
- 1/2 cup light brown sugar
- 4 tbsp butter
- 1 tsp ground cinnamon
- 1/2 tsp ground nutmeg
- 1/2 tsp salt
Optional Thickener
- 2 tbsp cornstarch
- 2 tbsp cool water
Instructions
- Prepare the lemon water. Fill a large bowl halfway with cool water and squeeze in the juice from half a lemon.
- Prepare the apples. Peel, core and cut the apples into approximately 1/4-inch-thick slices. You should have approximately 6 cups. Place the apple slices in the lemon water as you work to prevent browning.
- Fill the Instant Pot. Drain the apples well and add them to the pot. Add the apple cider, granulated sugar, brown sugar, butter, cinnamon, nutmeg and salt. Stir gently to coat the apples and press them down into the pot.
- Pressure cook. Secure the lid and set the steam release valve to the sealing position. Cook on high pressure for 3 minutes. The Instant Pot will take approximately 17 minutes to build pressure before the cooking time begins.
- Release the pressure. When the cooking time is complete, carefully perform a quick release, keeping your face and hands away from the steam. Once the pressure has fully released, remove the lid.
- Thicken, if desired. For a thicker, more traditional apple pie filling, select the Sauté setting. Whisk together the cornstarch and cool water until completely smooth. Gently stir the slurry into the apples and simmer for 1 to 2 minutes, until the sauce thickens. Press Cancel. The filling will continue to thicken as it cools.
- Cool and use. Allow the filling to cool before adding it to a pie or another dessert. One batch makes enough filling for one apple pie, or 8 servings. Use it immediately, refrigerate it in an airtight container for up to 5 days or freeze it for up to 6 months.
Notes
- Choose a combination of apples. For the best balance of flavor and texture, use both sweet and tart apples. My favorite combination is 3 Honeycrisp and 3 Granny Smith apples.
- For thicker pie filling: The apples will be surrounded by a generous amount of buttery cider sauce after pressure cooking. Add the optional cornstarch slurry for a thicker, more traditional apple pie filling. The sauce will continue to thicken as it cools.
- Apple cider substitutes: Apple juice can be substituted in equal amounts. Water will also work, but the finished filling will have a milder apple flavor.
- Storage: Refrigerate the cooled filling in an airtight container for up to 5 days. To freeze, transfer it to a freezer-safe container or resealable bag and freeze for up to 6 months. Thaw overnight in the refrigerator.
- Yield: One batch makes enough filling for one apple pie, or approximately 8 servings.Use firm apples and perform the quick release as soon as the 3-minute cooking time ends. Softer varieties or additional time under pressure can cause the apples to become mushy.
Nutrition

Megan Porta is a comfort food recipe creator who specializes in easy family meals and Instant Pot desserts, and the founder of Pip and Ebby. She has been cooking for three decades and developing recipes for over fifteen years, helping home cooks make reliable, cozy recipes for real life.
Apple pie is my favorite, it looks wonderful. Found this from South Your Mouth weekend potluck, Eva MRK.
Thank you, Eva! There’s no easier way to make apples for apple pie!
Perfect! Nice and goopy, just like it should be. And tasty too. Thank you very much! I live in Argentina and pie fillings DO NOT exist down here. This saved my bacon!!
Also, I DID have to use the cornstarch and water. No biggie. Thanks!
No pie fillings? Well, IMO, this is way tastier and I’m glad you liked it too. Thank you for sharing!
Because she didn’t put corn starch as an ingredient! Read the classic recipes they won’t let you down
Curious if a person can double this or have you tried?
I have not doubled it but you most certainly could! The only thing to consider is how much room is left in your Instant Pot. If you have an 8 quart, you’d have more room to add the apples and ingredients. If you have the 6 quart like I do, then you have to consider how much more you can safely add in – 1.5 or a true doubling of the recipe. Let me know when you do it how it comes out!
Nope. Followed those directions and it just completely disinterested. Used Granny Smiths.
Not a good feeling when something doesn’t turn out. I’m sorry that happened. What was disinterested? If I can help problem solve this, let me know a little more detail. Thank you for commenting.