
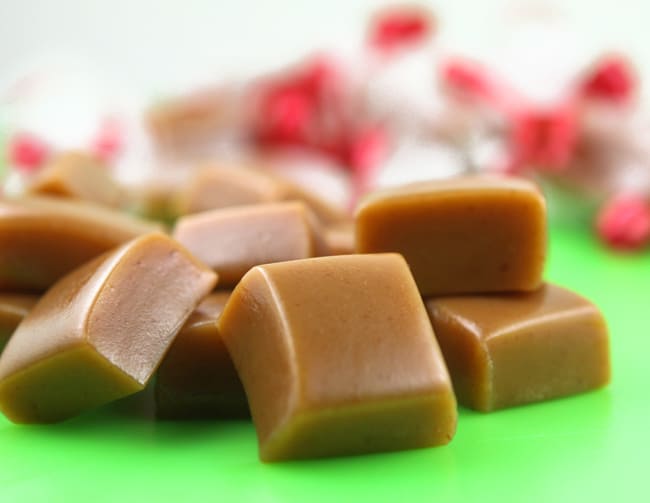
These Homemade Caramels are chewy and gooey and sooo delicious. You won’t want to eat just one! Perfect treat for holiday parties and holiday gifts!

Original post: December 2012 | Updated: December 2020
Part of the reason I love this season so much is because of the baking and stirring and cutting and wrapping and eating and delivering. This caramel recipe is possibly my favorite of all Christmas treats.
I remember the first time I made these, back when I was the only one who lived in my then clean but very boring home. I stood over my stove stirring for what seemed like forever, thinking, THESE BETTER BE GOOD.
When they were finished, I vowed to never complain about the cooking and stirring again because they are chewy, buttery, sugary deliciousness at its very best. So here you go, friends.
HOW TO MAKE HOMEMADE CARAMELS
STEP 1
Coat a 9×13 baking dish generously with cooking spray and set aside. In a large, heavy saucepan, combine:
- Butter
- Granulated sugar
- Light brown sugar
- Light corn syrup
- Evaporated milk
- Heavy whipping cream

STEP 2
Cook over medium heat, stirring constantly, until a candy thermometer reads 243 degrees F.
At first the stirring speed can be fairly slow. You can, say, stir with one hand while perusing Pinterest with your other, if that is your thing. The entire cooking process takes me somewhere around 45-50 minutes.
A little over halfway through, the stirring must become a little more vigorous, as you must make sure the mixture does not burn.
Occasionally dip the candy thermometer into the middle, being careful not to touch the bottom of the pan, until you get a reading. 243 degrees is my magic number. Any less and the caramels are too gooey. Any more, and they are too chewy.
STEP 3
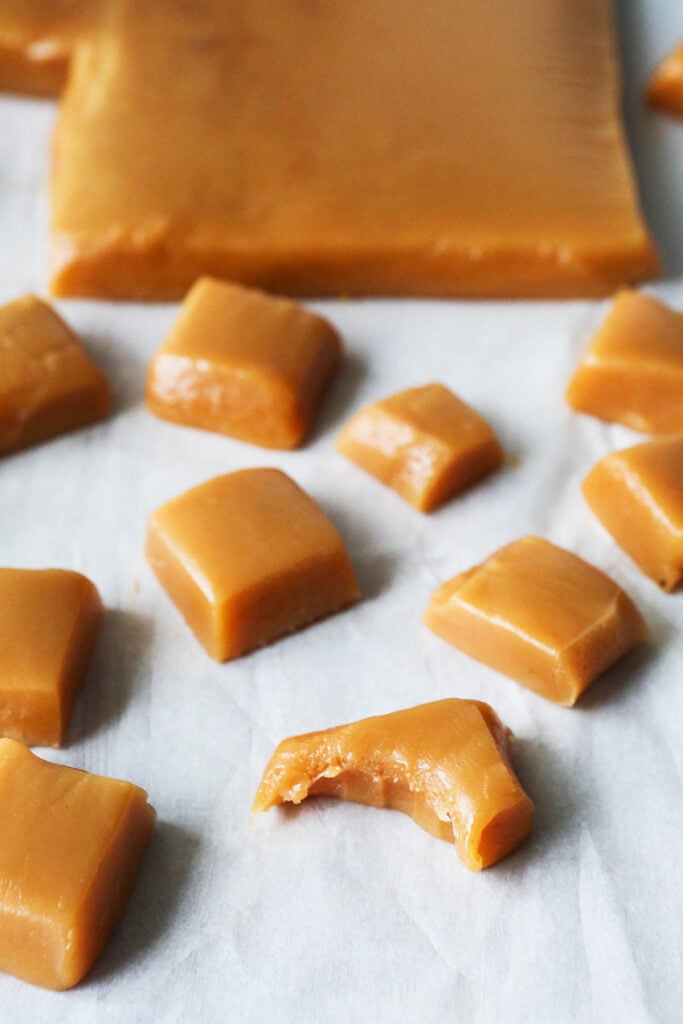
When you reach the magic number, immediately remove the pan from the heat and add 1 1/2 teaspoons of vanilla extract. Stir until combined, then pour the mixture into the prepared 9×13 pan. Allow the caramel to cool completely.
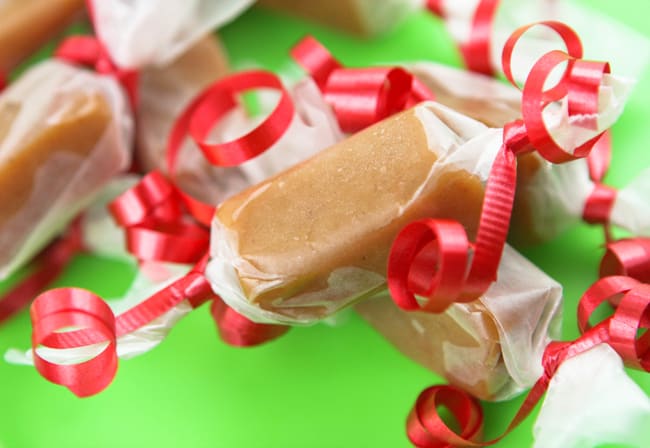
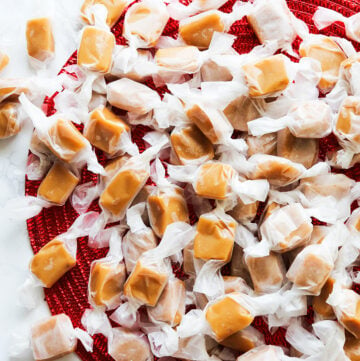
Cut into 1/2-inch x 1-inch pieces and wrap individually in wax paper.
RECIPE NOTES: HOMEMADE CARAMELS
- A high-quality candy thermometer is a necessity for this recipe. A Thermapen works AMAZING!
- Prepare yourself for nearly an hour of constant stirring. Have someone on standby if you need a break. TRUST ME when I say that the stirring is 100% worthwhile.
BEST TREATS FOR HOLIDAY BAKING
- These delicious Chewy Gingersnaps are the perfect chewy treat. Plus they are super easy to make. Flavored with molasses and spices and the finishing touch – topped with simple icing!
- These are the BEST Sugar Cookies. They are super easy to make (using only seven ingredients) and they are perfect for decorating. You will never need another sugar cookie recipe again!
- Triple Chocolate Cookies with Peppermint Frosting are already a thick, perfect cookie but Nutella sets them over the edge in goodness. It’s a fun holiday flavor and they look pretty too!
- These Chocolate Kiss Cream Cheese Cookies are a great dessert for gatherings any time of the year. They are light, creamy and sugary, with just the perfect kiss of milk chocolate!
- Hot Cocoa Cookies are like enjoying a cup of hot chocolate, except in cookie form. Chocolate oozes from the centers of these marshmallow-topped treats.
- Oreo Balls are an easy no-bake dessert requiring only three ingredients! This easy dessert is great for the holidays or any time of year.
- Whether you refer to this irresistible treat as puppy chow or muddy buddies, you are going to be happy to have this recipe as part of your holiday arsenal. This is the EASIEST dessert to throw together, with just a few ingredients and a few minutes of your time.
Will you help add value to Pip and Ebby?
If you make this recipe and love it, stop back and give it a 5-star rating ⭐️⭐️⭐️⭐️⭐️ and leave a comment. THANK YOU!
Homemade Caramels Recipe
Ingredients
- 1 cup butter 2 sticks
- 2 cups granulated sugar
- 1 cup light brown sugar
- 1 cup light corn syrup
- 1 cup evaporated milk
- 1 pint heavy whipping cream
- 1 1/2 tsp vanilla extract
Instructions
- Coat a 9×13 dish generously with cooking spray and set aside. Combine the butter, sugars, corn syrup, evaporated milk and heavy whipping cream in a large saucepan. Cook over medium heat, stirring constantly, until candy thermometer reads 243 degrees F.
Notes
- A high-quality candy thermometer is a necessity for this recipe.
- Prepare yourself for nearly an hour of constant stirring. Have someone on standby if you need a break. TRUST ME when I say that the stirring is 100% worthwhile.
I gave these to family at Christmas and they wanted
more. I will have to make 2 patches this year.
I think you've just given me my gift idea for next year's extended family Christmas gifts….thanks! Hopefully I'm able to give them away after making them, they look so good!
Hello! Some of ours crystalized…. what would cause this?
Hi Archina, Just wrap the caramels in wax paper and they can be stored at room temp. Hope this helps!
Megan
These look amazing. How do you store them?
Yay! I think I can actually make these. I LOVE caramel…can't wait to try it out. Thanks~
There's nothing like homemade caramels. I use parchment paper so they don't stick to the pan. Your photos are gorgeous–thank you!
Wow. YUM YUM YUM!!!
These look beautiful! Nicely done and a perfect holiday treat to gift.